Step-by-Step Guide to a Smooth Septic System Installation
June 29, 2026
Installing a septic system is a crucial step for homeowners in rural areas or locations where municipal sewer systems aren’t available. It is an essential component of residential waste management, designed to treat wastewater and safely dispose of it underground. Without a proper septic system, untreated wastewater can contaminate the environment and pose serious health risks. Whether you're building a new home, replacing an outdated system, or upgrading an existing one, the installation process can seem overwhelming. However, with proper planning and a systematic approach, it can be a smooth and successful endeavor.
In this blog, we’ll provide a comprehensive step-by-step guide on how to ensure a seamless septic system installation. From selecting the right system for your property to the final inspection, we’ll cover every important aspect. By understanding the intricacies of the installation process, homeowners can make informed decisions that help avoid common pitfalls and ensure the system performs efficiently for many years. This will not only safeguard your property and health but also prevent costly repairs and unexpected complications down the road. Let’s dive into the critical steps involved in septic system installation and how proper preparation can lead to long-term savings and effective wastewater management.
1. Assessing the Property and Determining Needs
Before any installation begins, it is essential to evaluate the property’s suitability for a septic system. This initial step lays the foundation for a smooth installation and involves several considerations.
Site Evaluation
The first step in the process is conducting a site evaluation. This assessment involves determining factors like soil type, slope, and the size of the lot. A certified professional, such as a septic system designer or installer, will conduct a soil percolation test to determine how well the soil can absorb and treat wastewater. If the soil does not drain well, the septic system may require additional components like a pump or an alternative treatment method.
Zoning and Permits
In most locations, you will need to acquire zoning permits before beginning installation. Zoning regulations often dictate the minimum distance a septic system must be from water sources, wells, and property lines. Failing to adhere to these regulations can result in fines or a system that is not functioning optimally. It’s important to work with a professional who understands local laws and can assist with securing the necessary permits.
Choosing the Right System
There are several types of septic systems, and choosing the right one depends on the size of the household, soil conditions, and available space. Common options include conventional gravity-fed systems, pressure distribution systems, and alternative systems such as aerobic treatment units. It’s critical to select the system that best fits your property’s needs to ensure its long-term success.
2. Excavation and Preparing the Site
Once the system type is selected, the next phase involves preparing the site for installation. This includes excavation and other necessary preparations to ensure the system will function properly.
Excavation for the Septic Tank and Leach Field
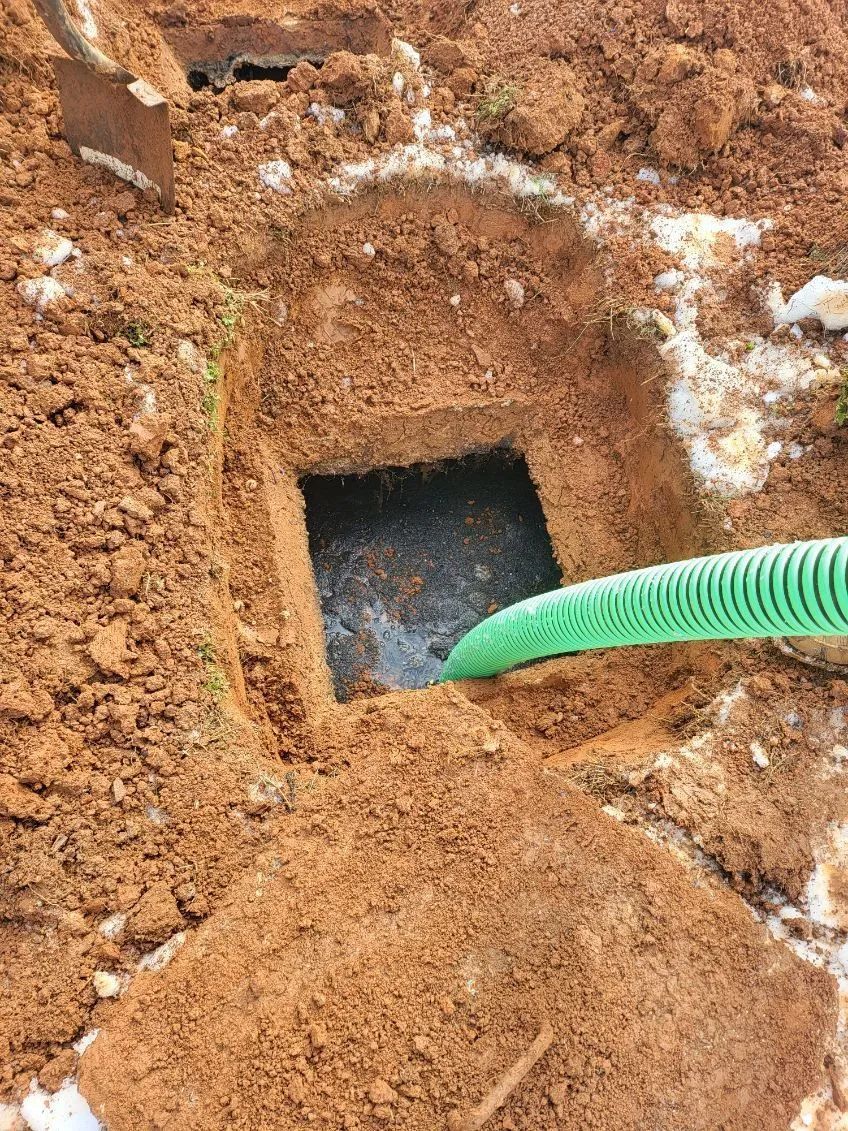
Excavating the area for the septic tank and leach field is a crucial part of the installation. The septic tank must be installed at a depth that allows for proper wastewater treatment and adequate space for the tank and associated pipes. The leach field (also known as a drain field) must be carefully placed in an area where the soil can effectively filter the wastewater. This typically involves digging trenches or mounds, depending on the specific system.
Access for Equipment
The installation area must be easily accessible to large excavation equipment. If the land is difficult to navigate, additional work may be needed to create a clear path. For instance, the installation crew may need to remove trees, bushes, or other obstacles to allow for the movement of large machinery. It’s important to plan for these additional steps, as they can add time and cost to the installation process.
Proper Placement of Components
During excavation, the septic tank, distribution box, and leach field should be placed in positions that meet the design specifications. It’s vital to ensure that these components are positioned with the proper slope to allow wastewater to flow effectively through the system. Incorrect placement can lead to system failures, causing costly repairs and potentially damaging the surrounding environment.
3. Installing the Septic Tank and Drainage System
With the site prepped, the next step is the installation of the septic tank and the drainage system that will handle the effluent from the tank.
Septic Tank Installation
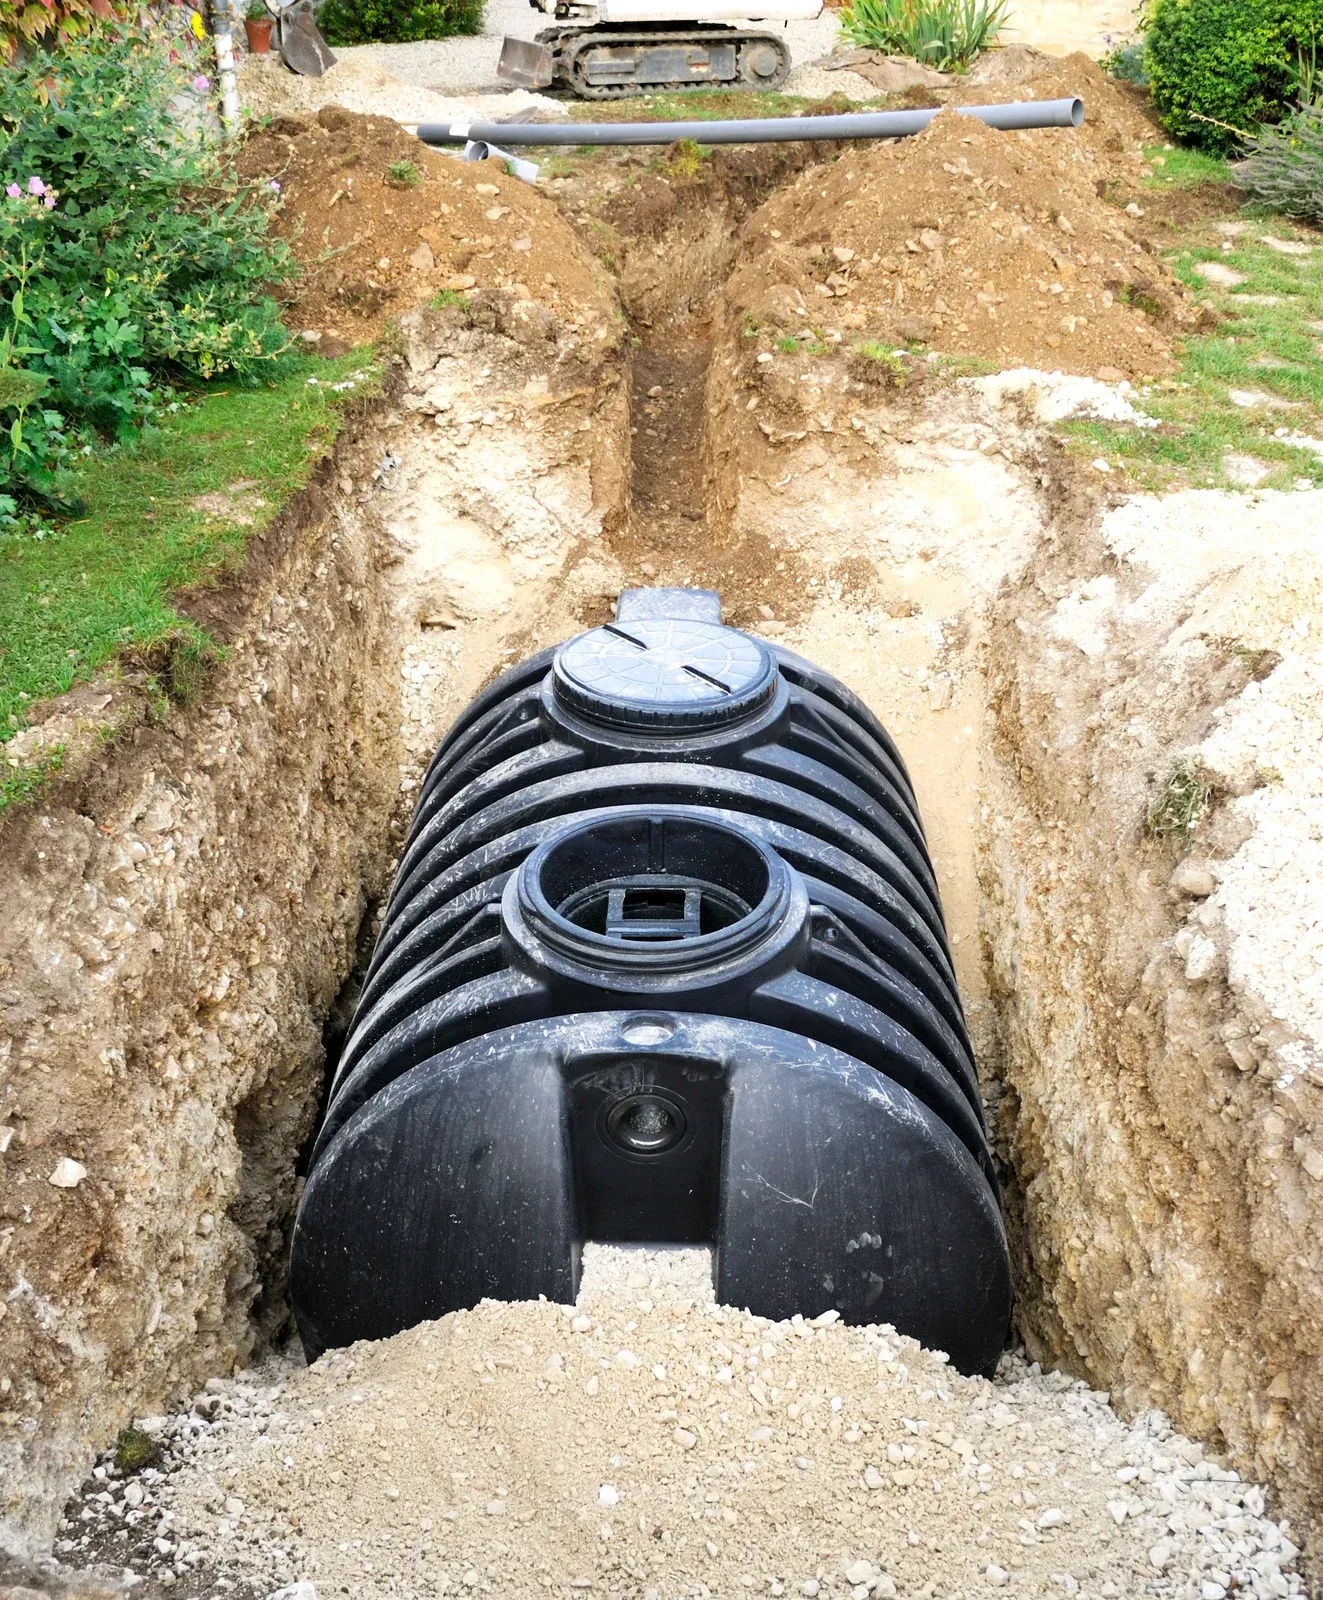
The septic tank is typically made of concrete, plastic, or fiberglass, and it needs to be placed in the excavation area. It must be installed level and with sufficient depth to allow wastewater to flow freely from the house into the tank. The tank’s inlet and outlet pipes should be carefully aligned, ensuring the system can efficiently treat and store wastewater.
Piping and Connections
Once the tank is in place, the piping system must be connected to it. The pipes leading from the house to the septic tank should be positioned to create a downward slope, ensuring the smooth flow of wastewater. The system’s outlet pipe, which leads from the tank to the leach field, must also be installed at the correct slope for proper effluent distribution.
The leach field is an essential part of the septic system, as it disperses treated wastewater into the ground. The pipes in the leach field are laid out in trenches or beds filled with gravel or other materials that allow water to drain and be filtered. Proper distribution and placement of these pipes is crucial to prevent clogging and ensure efficient wastewater filtration.
4. Backfilling and Compacting the System
Once the septic tank, piping, and leach field have been installed, it’s time to backfill the trenches and compact the soil.
Backfilling the Excavated Area
Backfilling involves placing soil back into the excavation site to cover the septic tank and pipes. It’s crucial that the soil used for backfilling is free of large rocks, debris, and other materials that could damage the system. The soil should be compacted in layers to prevent settling, which can lead to uneven surfaces or system failures.
Compaction and Surface Preparation
Proper compaction ensures that the ground around the septic system is stable and won’t shift over time. The goal is to avoid subsidence, which can affect the system’s functionality. Once the area is backfilled and compacted, the final grade should be leveled to match the surrounding landscape. A slight slope may be necessary to direct rainwater away from the system to prevent flooding or water pooling on the surface.
Protecting the System
Once the system is backfilled, it’s important to avoid disturbing the area. Heavy machinery, construction activities, or landscaping can damage the septic system and its components. Homeowners should mark the area clearly and avoid planting trees or shrubs directly over the septic tank or leach field to prevent root interference.
5. System Testing and Inspection
After the septic system has been installed and the site is backfilled, it’s time for the final testing and inspection to ensure the system functions as expected.
Initial System Testing
The system should be tested to ensure everything is working properly before it is fully operational. This involves checking the flow of wastewater into the septic tank and ensuring that the effluent is being properly filtered and discharged into the leach field. The distribution box should be checked for even effluent distribution, and the system should be tested for any signs of leaks or blockages.
Inspection and Permitting
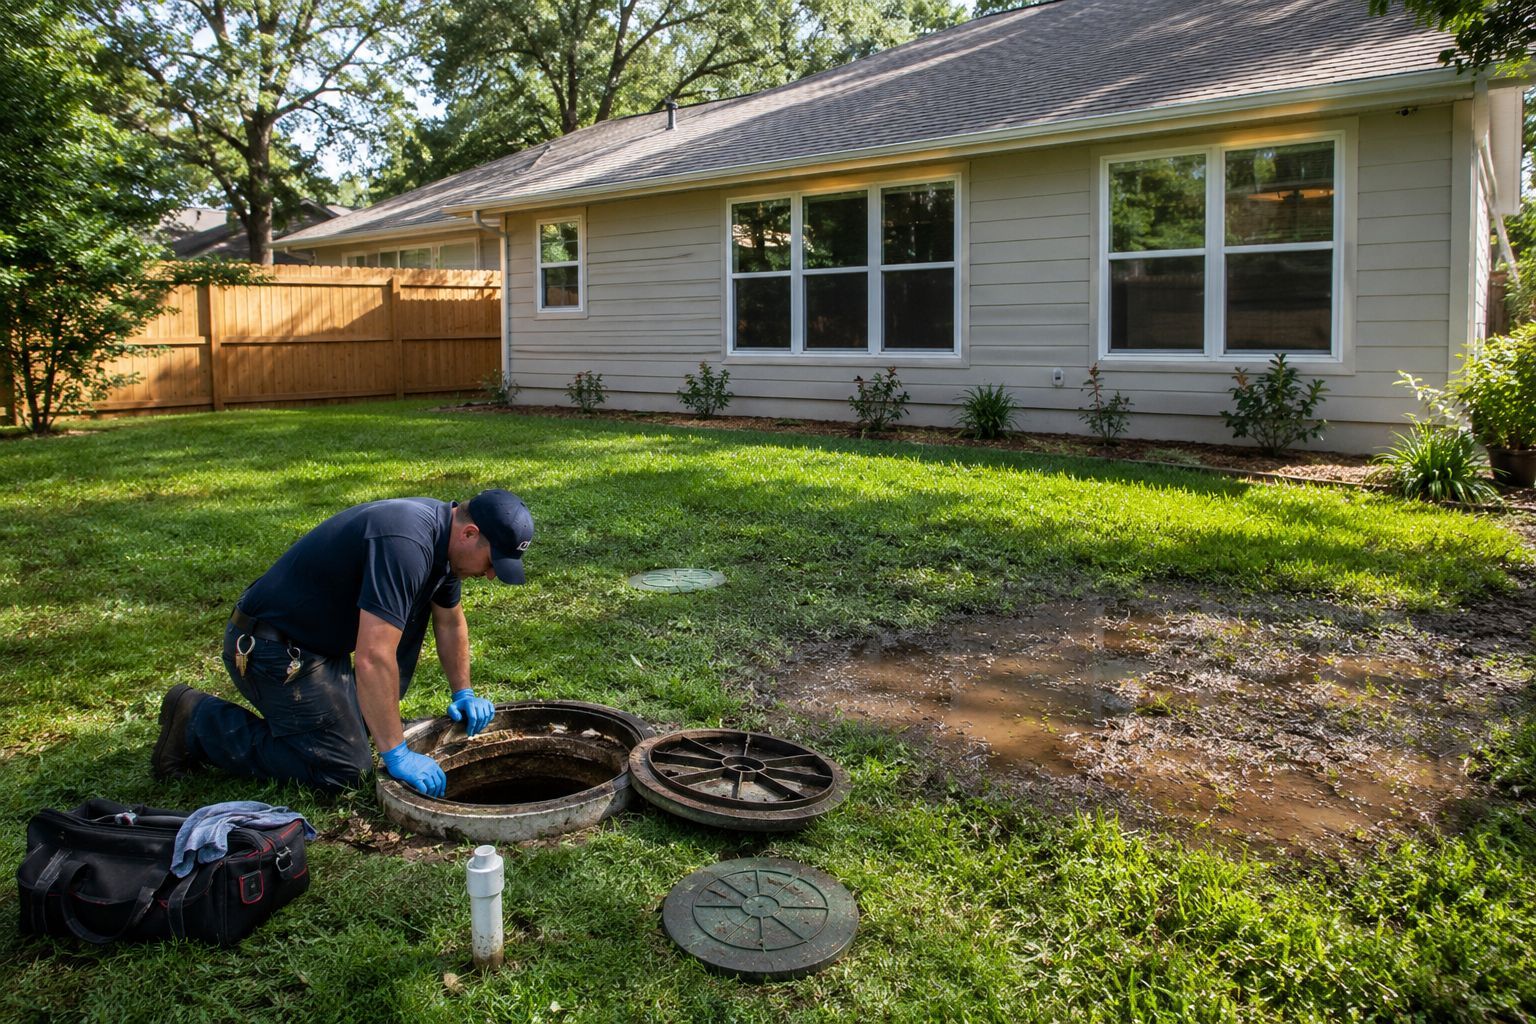
Most local health departments or municipalities require a final inspection of the septic system before it can be used. A certified inspector will verify that the system has been installed correctly, meets all local codes, and complies with any regulations. Upon successful inspection, a permit will be issued, allowing the system to be used. It’s essential to keep documentation of the inspection and approval for future reference, especially when selling the property.
Expert Tips for Long-Lasting Septic System Performance
A septic system installation is a critical process for homeowners who rely on an independent wastewater management system. Each step—from site evaluation and excavation to testing and inspection—must be done carefully to ensure that the system works efficiently and lasts for many years. Proper installation not only saves homeowners from costly repairs but also protects the environment and surrounding property. A well-installed system provides long-term reliability, preventing issues such as clogged pipes, overflows, or groundwater contamination. With the right expertise, homeowners can ensure that their septic system operates optimally for decades to come.
At
Newcomb Septic Services, we understand the importance of a properly installed septic system and the peace of mind it brings. With 1 year of experience in the industry, our team specializes in designing and installing high-quality septic systems tailored to your specific needs. We take a comprehensive approach to each project, from understanding your property’s unique characteristics to ensuring every component meets regulatory standards. We are committed to ensuring that every installation meets the highest standards of safety, efficiency, and environmental responsibility. With our experience, you can trust that your septic system will be installed correctly, helping you avoid costly future repairs and ensuring peace of mind for years to come. Let us be your trusted partner in maintaining a clean, efficient, and reliable wastewater system. Contact us today for more information or to schedule a consultation!